Greatfully we did this in our last house and had alittle experience, so I kinda knew what I was doing.
Back track just a bit. Chris installed our sprinkler system

Which made the process quite easy, since I could stand in the flower bed and turn on the sprinkler to make sure it was working well.
I got one of these and it was a perfect starting point. I started in the front flower bed. I really wanted to use these cute little sprayers

However they put off between 0-15 gph and were way too powerful :( So I changed to drip lines and tips.
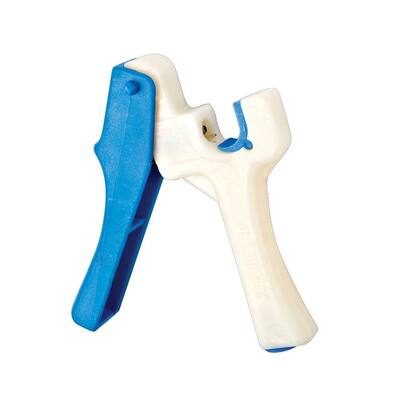
I installed between .5-2 gph dripper for each plant or area directly from 1/2 in pipe using my handy dandy punch.
I added soker hose to the garden and a few other places where I felt it was needed.
NOW EVERYONE'S FAVORITE PART!
Money Breakdown
Sprinkler Main lines and 1/2 pipe and barbs: Included in landscaping cost
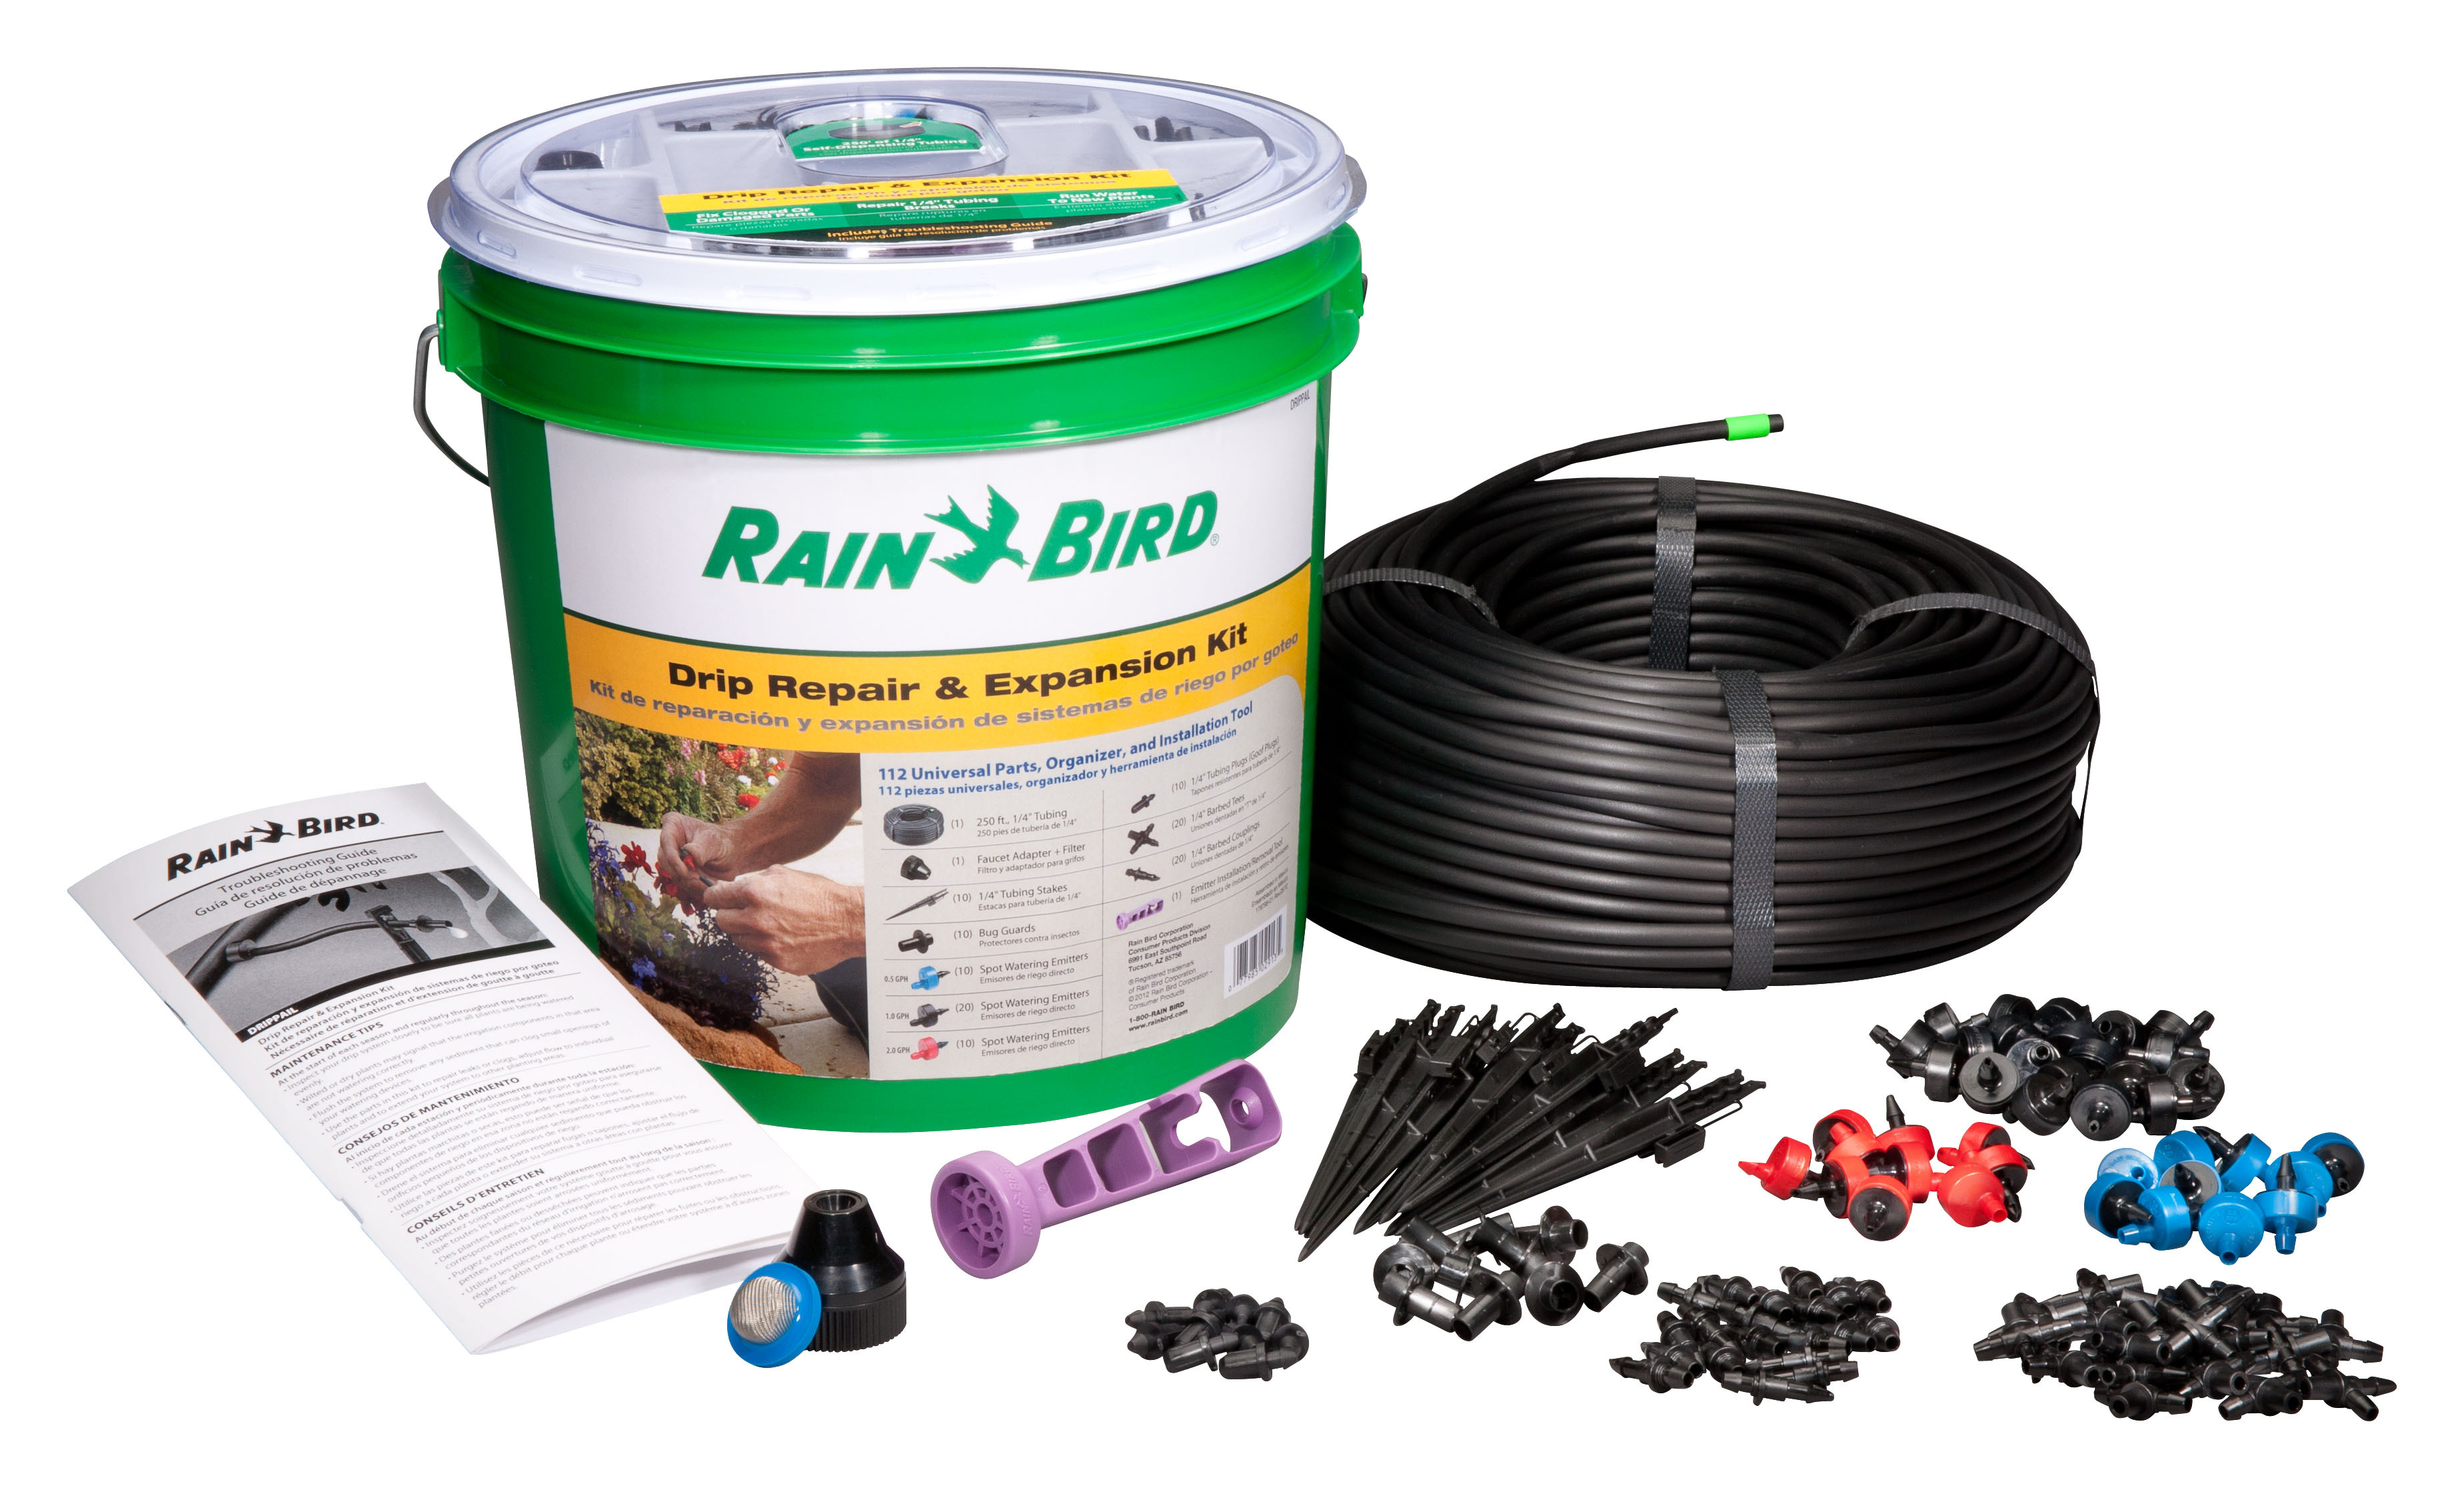
Rainbird starter bucket: $25
Punch: $10
Mis drippers, sprayers : $25 (some were unused but still kept)
Soaker hose : x2 $15
extra stakes for hose: $10
All things done: Out of pocket $100
Running Total: $9,068.00
---Landscaping: $8,040.00
---Plants and Flowers: $550.00
---Garden : $378.00
---Drip Sprinkler: $100
No comments:
Post a Comment